
Introduction
There may come a time when you want to build your own custom kernel for a particular thin client.
For example I needed to do this whilst sorting out a problem with a
Wyse S10 where, amongst other things, the BIOS was disabling
the IDE interface so preventing its use. My solution to this was to modify the pata_CS5536 driver so
that it re-enabled the interface as part of its initialisation phase, and then recompile the kernel so
that it used this modified driver. At the same time I took the opportunity to remove the embedded
collection of SATA/IDE drivers that were not used by the Wyse S10. Also there is an earlier variant
of the S10 that uses the pata_CS5535 driver which, for many years, has been marked ‘experimental’ and
not included in the standard build.
In principle a kernel rebuild is not a simple process as the modules are also an integral part
of the system. These also should be recompiled and then the associated ramdisk(s) (core.gz
et al) remastered with the rebuilt modules. However, as in this case where the changes you’ve made
to the kernel are minor, we can skip the modules/remastering stage which leaves us with the simple
process of producing a new vmlinuz kernel file. This is the process described here.
This how-to describes how to set up an environment that will let you recompile the Linux
kernel, and shows you how you can make minor changes to the kernel configuration to tailor
it more to specific hardware.
If you are intending to be more adventurous I would note that if you are too aggressive at removing
stuff from the kernel you may end up with a kernel that crashes on startup. The basic principle
is to be patient and only make a small number of changes at a time. You should also keep a copy of
the previous kernel .config file so that it is easy to revert to a previous (working) build
in the event of such a thing happening.
At the time of writing Tiny Core is at revision 10.0 and uses kernel 4.19.10. If you’re following
this guide with a later build you will need to make minor adjustments to file names and paths to match
the current release.
Configuring Tiny Core
Having put together a basic Tiny Core platform the next step is to fire up the App Browser and
download and install the various extensions you’ll need.
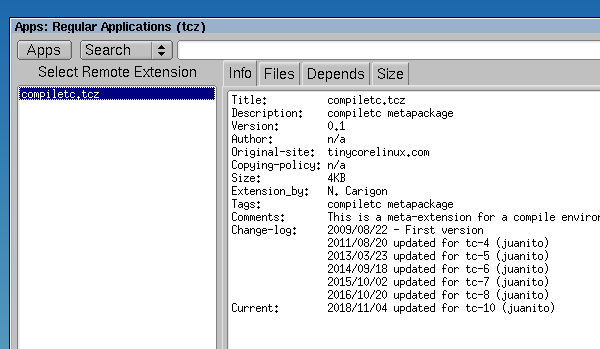
We need to install:
- kmaps.tcz
- compiletc.tcz
- perl5.tcz
- ncurses-dev.tcz
- seamonkey.tcz or chromium-browser.tcz
- bash.tcz
- bc.tcz
The first is to set things up for your keyboard (if non-US) — don’t forget to add kmap=qwerty/uk
or the equivalent to the syslinux/extlinux boot menu if you haven’t already.
The next two items install the tools required to compile the kernel.
The ncurses library is used by menuconfig (see on).
Finally you’ll need the browser to get hold of the kernel sources.
Now decide where you’re going to do the work. In this case I’m happy to do this as the standard user (tc).
To keep track of things I’ll create a subdirectory wyseSX0 to remind me in a few months time what
machine this kernel build was targeted at. Also, in case I’m going to do this for another thin client,
I’ll create another directory kernel to keep a local copy of the original files to save me having
to download them again.

tc@box:~ mkdir wyseSX0 kernel
tc@box:~
If you’ve a non-us keyboard and downloaded kmaps.tcz it’s worth rebooting at this point to check
that you’ve got everything set correctly so that your keyboard works as it should.
Testing
At this point it’s worth spending a few minutes working out how you want to proceed. To a
degree this is dependent on whether you are just making a few simple changes to the kernel or whether
it is something more extensive that may result in a lot of edit/compile/test cycles. Two
options are:
- Copy the new kernel to a USB stick and boot that on the target machine.
- Use the PXE capability of the thin client (if supported) to load the
new kernel over the network.
Option does make the testing cycle easier/quicker but takes more effort to set up. A way of doing
this is described here.
It is also worth spending a small amount of time to create some scripts to automate the
process of getting the new kernel image to where you want it, and, while you’re at it,
having a way to back track should you make a mistake and things stop working.
As mentioned above I wrote up how to set up PXE
back in 2013. I suggest you read that article if you’re headed down that route. Below is a simple
approach and script that I’ve used for an option 1 approach.
In this example we need to get the new kernel onto the pen drive and also backup any files we
are changing — .config, bzImage and pata_cs5336.c. To make life easy we’ll
backup all three of these every time into a directory inventively named backup.
To keep track of what’s what we’ll add a time stamp to the file names so we don’t accidently
overwrite previous entries. As the compile/test cycle takes a few minutes we can use a YYMMDDHHMM
style of time stamp without bothering about the seconds.
Starting with a standard installation of Tiny Core on a pen drive I edited the syslinux.cfg
file on the pen drive to add a ‘testing’ menu entry that used the kernel file vmlinuzSX0.
LABEL tcsx
MENU LABEL Boot TinyCore SX0 (on slow devices, waitusb=5)
KERNEL /boot/vmlinuzSX0
INITRD /boot/core.gz
APPEND loglevel=7  kmap=qwerty/uk waitusb=5 tce=UUID="A677-5512"
What the script does is:
- Mount the pen drive.
- Copy arch/x86/boot/bzImage to /boot/vmlinuzSX0
- Unmount the pen drive.
- Backup the key files adding a time stamp to their file names.
My simple script (which lacks a full set of bomb-proof error checks) looks like this:
#!/bin/sh
#
# Ensure PENDRIVE is set to match your system!

PENDRIVE="sdb1"
STAMP=`date +%y%m%d%H%M`

echo using pendrive $PENDRIVE
echo timestamp is $STAMP

# Mount the pendrive and copy over the new system.
#  - check it is inserted
#  - mount it
#  - check we can see the boot directory
#  - copy the file over
#  - umount it

if ! [ -d "/mnt/$PENDRIVE" ] ; then
  echo "Pendrive is not present"
  exit
fi
sudo mount /dev/$PENDRIVE /mnt/$PENDRIVE
if  ; then
  echo " failed to mount the pen drive"
  exit
fi

if ! [ -d "/mnt/$PENDRIVE/boot" ] ; then
  echo "Can't see the boot directory on $PENDRIVE"
  exit
fi
sudo cp -f arch/x86/boot/bzImage /mnt/$PENDRIVE/boot/vmlinuzSX0
sudo umount /dev/$PENDRIVE
echo "kernel copied over"

# Backup our working files
cp arch/x86/boot/bzImage backup/$STAMP_bzImage
cp .config backup/$STAMP_config
cp drivers/ata/pata_cs5536.c backup/$STAMP_pata_cs5536.c
echo "Files backed up"
This obviously assumes that the pen drive you insert appears to the system as /dev/sdb1.
You will need to set the variable PENDRIVE to suit your setup. Also it expects to
be run from the ‘root’ directory of the kernel build (where you type make).
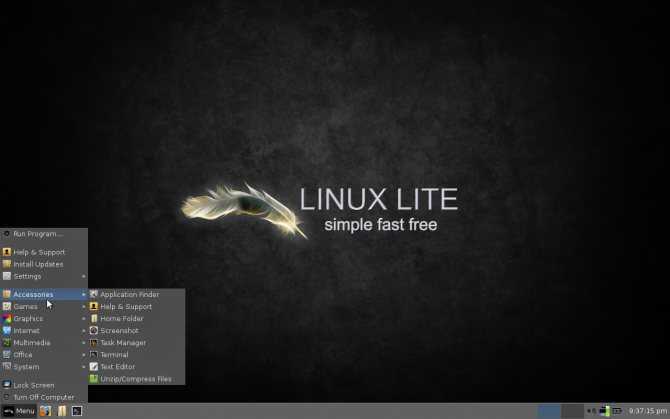
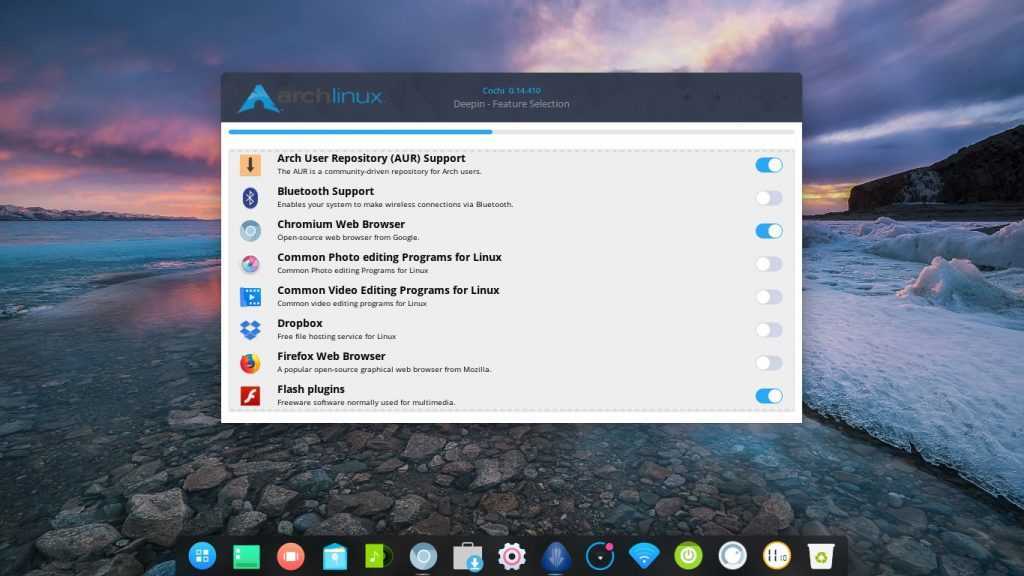
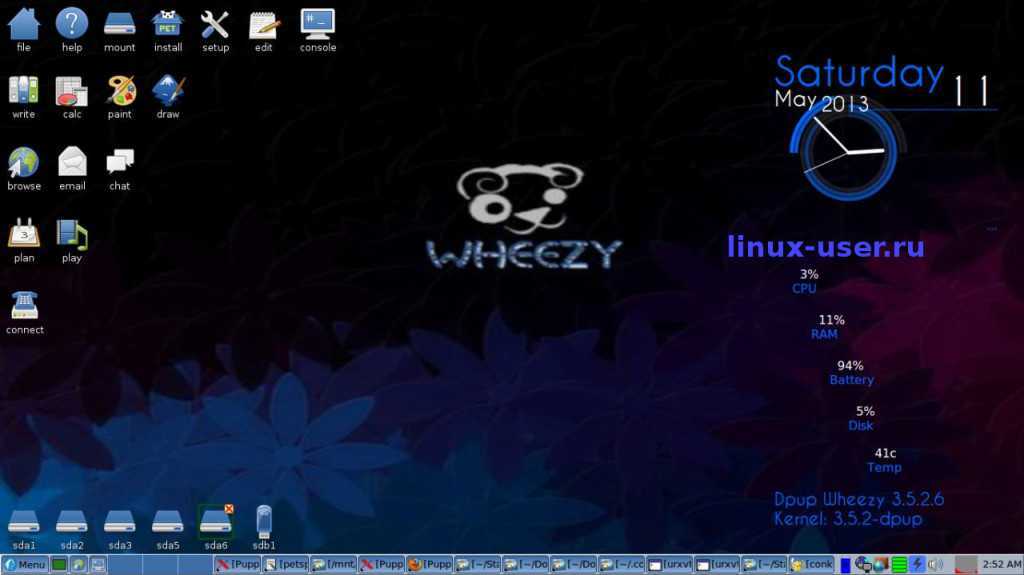
Puppy Linux
Puppy Linux — очень необычный дистрибутив. Он небольшой, но в то же время очень функциональный. Еще одна отличительная особенность в том что он может быть основан на нескольких версиях дистрибутивов. Разработчики создали набор инструментов, которые позволяют сделать Puppy Linux на базе Slackware, Ubuntu или даже LFS. Но в любом случае Puppy Linux имеет небольшой размер установочного образа — от 70 до 200 мегабайт, а также работает из оперативной памяти, а это значит, что программы будут запускаться мгновенно.
В качестве окружения рабочего стола используется XFCE. Минимальные требования к оперативной памяти — 32 Мегабайт, но для нормальной работы желательно иметь 64 Мб. Еще одной отличительной чертой этого дистрибутива можно считать утилиты для настройки почти всего в системе.
Prerequisites
You obviously need an environment to build the kernel in — a combination of hardware and software.
Back in 2013 I used a Shuttle PC (spec lost in the mists of time) running Fedora.
These days I find the obvious candidate for the operating system to be Tiny Core itself. As to
hardware you’ve got the option of using what ever you have to hand (old PC, thin client or whatever)
or you can install Tiny Core in a Virtual Machine (such as Virtual Box) on your Windows(?) desktop
computer. The choice is yours.
Modern thin clients are a lot more powerful than they used to be and I’m currently using a
Wyse Dx0D fitted with a dual-core CPU, 2GB of RAM and an
4GB SSD for this task. This is running the same version of Tiny Core (10.0) that I want to build
the new kernel for.
Installing Tiny Core is straight forward — use something like LiLi (Linux Live USB creator)
to install Tiny Core onto a pen drive. Boot from that pen drive, download the tc-install.tcz
app and then run it. Install Tiny Core to the hard disk and, when filling in the command
line options, set /home and /opt to be persistent on the hard disk. If you don’t they will be RAM
based and so have to be saved/restored on shutdown/boot. (tc‘s home directory with the
kernel files comes in at 1GB).
In selecting your hardware base you don’t actually need vast amounts of disk space — at least
not ‘vast’ in today’s terms. I found that the Tiny Core development installation described below
along with the Linux kernel took up ~1.3GB of disk space.
When I went through this exercise back in February 2017 I tried out three thin clients:
- A Dell FX160 fitted with 1GB of RAM and an 80GB laptop drive. The CPU in this is an Intel
Atom 230 single core processor running at 1.6GHz. - A Dell Z90D7 fitted with 2GB of RAM and a SanDisk U100 8GB SSD. The CPU in this an AMD
G-T56N. It’s a dual core CPU running at 1.65GHz. - A Dell D10DP fitted with 2GB of RAM and a SanDisk U100 8GB SSD. The CPU in this an AMD
G-T48E. It’s a dual core CPU running at 1.4GHz.
Having set up each machine I did a make clean followed by time make bzImage to get the
following results:
In January 2018, with kernel 4.8.17, the initial build time was 1 hour 12 minutes on the Wyse D10DP.
I guess this reflects the drivers and features that have been added to the kernel since release 4.2.9.
Note: The timings are for the first pass when everything is compiled. Thereafter, after I edited the
kernel .config file to remove the unwanted drivers the build time was around 1 minute 20 seconds.
It took a similar time to rebuild the kernel after I had edited the pata_cs5536.c driver file.
With the latest iteration (kernel 4.19.10) the initial build comes in at just under 1hr 20 minutes.
Install Source Tree
The next step is to get hold of the kernel sources. Luckily for us these are already packaged up
and available from the Tiny Core site or one of its mirrors. The
wiki has a list of mirrors. Pick a suitable
one to suit your location. https://ftp.nluug.nl/os/Linux/distr/tinycorelinux/ works nicely for
me here in the UK.
On firing up a browser and heading to the chosen mirror we find:
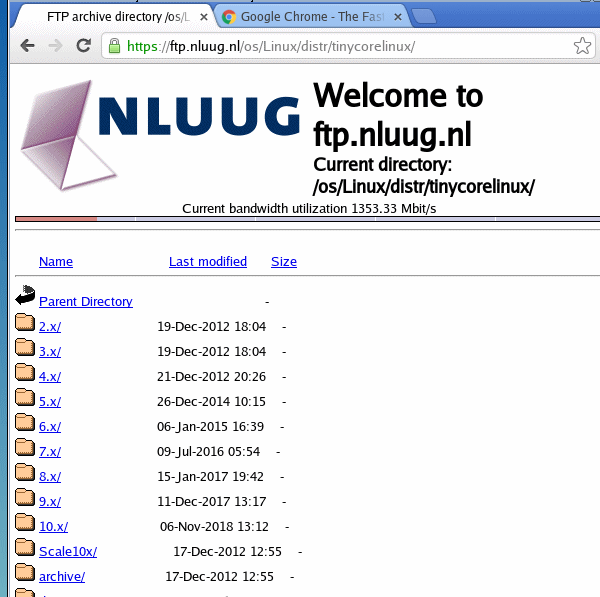
Next we have to drill down through several screens to reach the sources….
- 10.x/ we’re using 10.0…
- x86/ …it’s the 32-bit x86 version…
- release/ …the released version…
- src/ …we’re after the sources…
- kernel/ …for the kernel
This should bring you to the following screen:
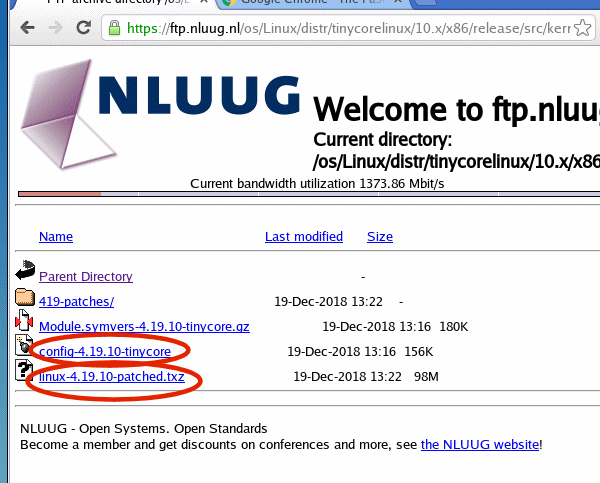
10.0 uses kernel 4.19.10 so we now need to download the two circled files. One is the kernel source
tree which already has all Tiny Core specific patches applied to it. The other is the config file
that determines exactly how it is built. Click on each in turn and download them into the kernel
subdirectory.
Next we need to extract the files. This is easily done with a couple of commands from a terminal window:
$ cd ~/wyseSX0
tc@box:~/wyseSX0$ tar xvf ~/kernel/linux-4.19.10-patched.txz
tc@box:~/wyseSX0$ cp ~/kernel/config-4.19.10-tinycore linux-4.19.10/.config
The tar command extracts the kernel source to the directory ~/wyseSX0/linux-4.19.10/
and the cp command puts the Tiny Core specific configuration file in the right place.
Initial Build
We now have everything set up to build the kernel. It’s worth having a quick go at this
stage to confirm that everything works. I also like to benchmark things using the
time to get an idea of how long this takes.
Whilst the kernel compiles you’ll see odd warning messages, but you don’t have to worry
unless things halt with a specific error message.
tc@box:~/wyseSX0$ cd linux-4.19.10
tc@box:~/wyseSX0/linux-4.19.10$ make clean
tc@box:~/wyseSX0/linux-4.19.10$ time make bzImage
Our new kernel is sitting in the directory arch/x86/boot/bzImage
In my particular case with the Wyse D10DP it took about 1 hour and 18 minutes to build the
kernel.
Customising
There are a variety of ways in which you can edit the kernel configuration settings. I use
menuconfig as that’s what I’ve done for years….
First step is make any changes we want to make to the source files. In this case I’ve
edited the file drivers/ata/pata_cs5536.c. There is also the alternative more generic driver
drivers/ata/pata_amd.c, but I initially picked on the explicit cs5336 one as it was more
obvious what was going on.
Next, for the Wyse SX0, we need the (modified) CS5536 driver and also the CS5535 driver. The later
is for the earlier version of the SX0 and is not actually included in the standard Tiny Core build.
These are the only two drivers we are interested in so we might as well dump the others from our
custom build.
To edit the kernel .config file we use the command….
tc@box:~/wyseSX0/linux-4.19.10$ make menuconfig
This brings up the opening screen:
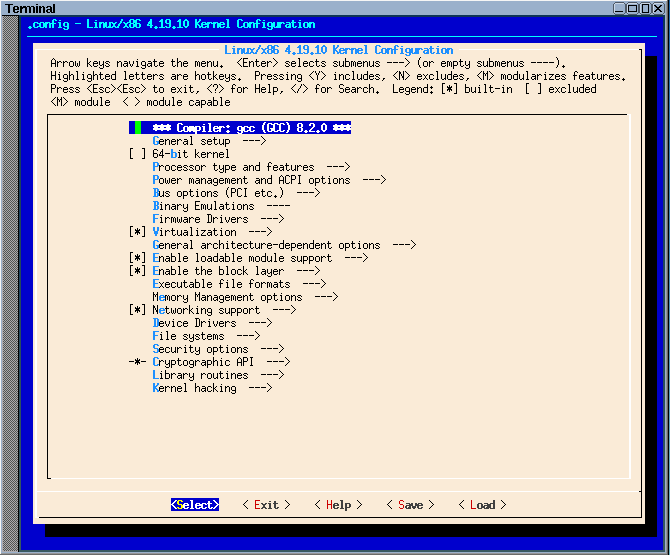
On these screens you use the cursor up/down keys to get you from line to line,
the spacebar to change the configuration of the current selection between built-in/excluded/Module,
and the cursor left/right keys to switch between Select/Exit/Help at the bottom of
the screen. A v(+) at the bottom the screen indicates that there are further
items off the bottom of the screen.


Use the cursor down key to select Device Drivers —> (hit enter) and then
Serial ATA and Parallel ATA drivers (libata) —> on the next screen. This then brings
up the following screen:
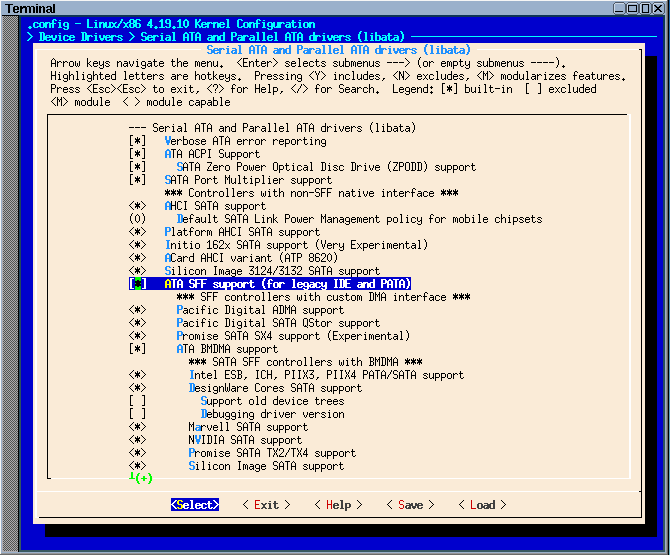
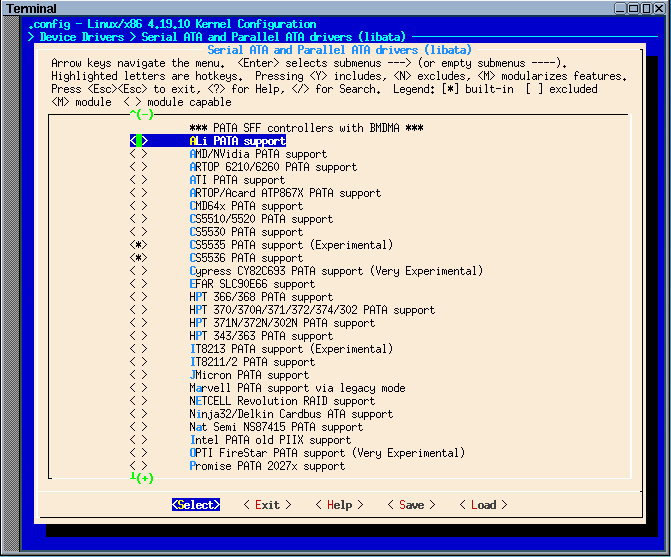
Our wanted drivers are sitting under ATA SFF support and then ATA BMDA support.
It is worth initially deselecting ATA BMDA support to collapse the tree so we can then
easily deselect all the other entries under ATA SFF support.
Next change ATA BMDA support to be built-in, and then work through the list excluding
everything except for our wanted drivers. There are a fair number of drivers so remember to keep
on scrolling down the screen until you’ve done the lot. What you should end up with is:
Now select exit at the bottom the screen and work your way back through the previous
menu screens until you end up with a ‘Do you want to save..’ prompt.
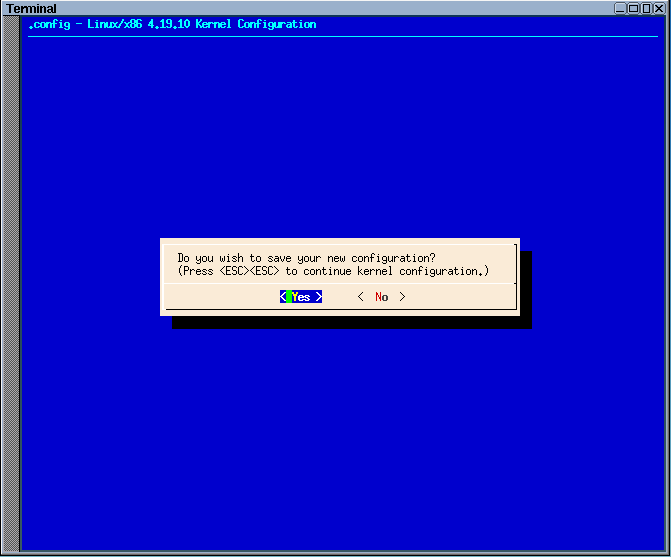
Select Yes and exit.
We now recompile the kernel image (make bzImage).
make should only rebuild those parts of the kernel that are affected by the changes we’ve
made. In this example it took about 1 minute 20 seconds to build a new version of the kernel.
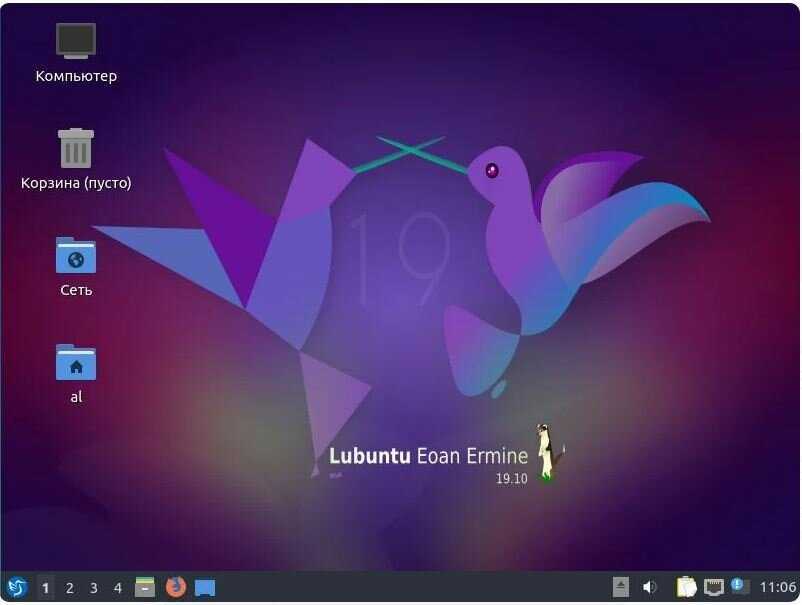
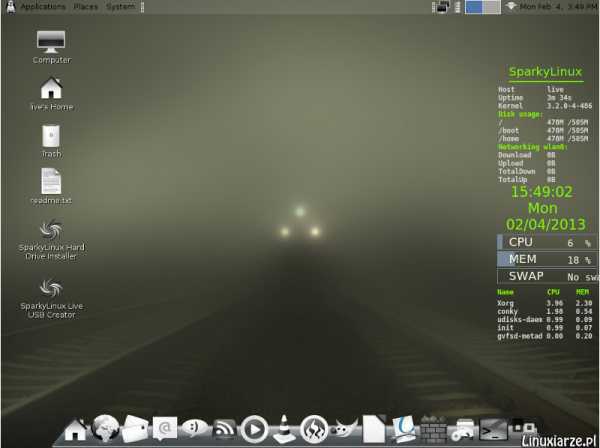
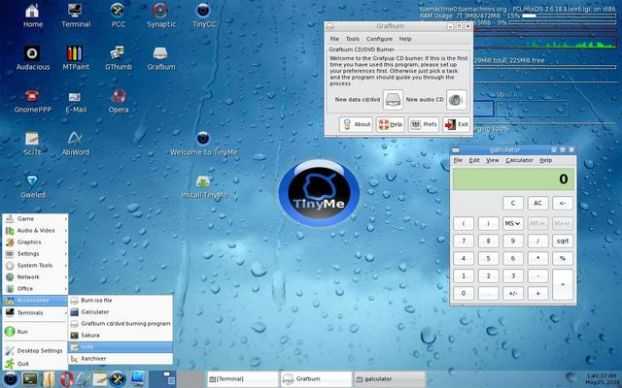
Tiny Core Linux
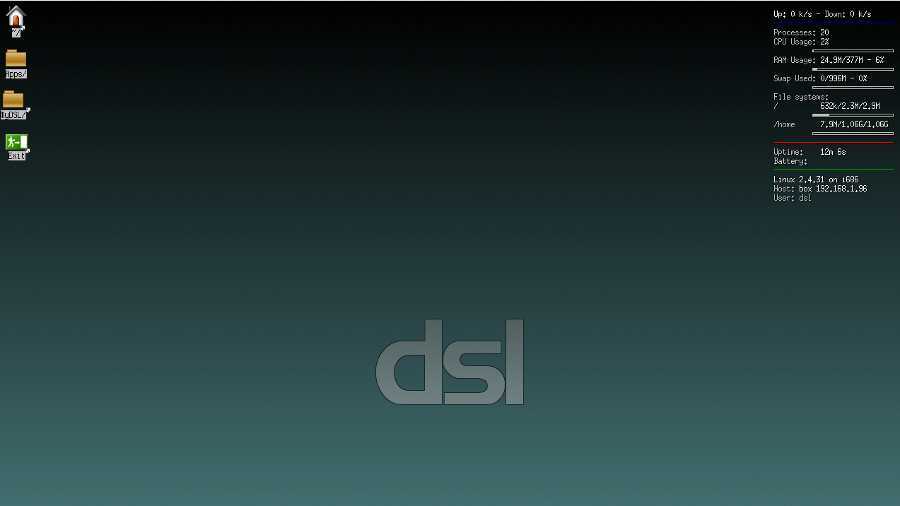
Это один из самых маленьких размеров Linux. Размер Tiny Core Linux составляет всего-навсего 10 мегабайт. Он основан на Damn Small, который в свою очередь, использует пакетную базу Debian. Но такой маленький размер, естественно, накладывает ограничения на его возможности. В дистрибутиве используется монолитное ядро, BusyBox, облегченная версия X сервера — Xvesa и урезанный вариант библиотеки Си — uClibc. Система поддерживает только английский язык. Это самый маленький дистрибутив Linux, из всех, которые вы можете найти.
Есть две редакции системы — Micro Core Linux, которая весит всего 8 Мегабайт, а также Multi Core Linux — расширенная версия, размером 45 Мегабайт с графическим установщиком и набором дополнительных программ. Для запуска и работы дистрибутива достаточно 28 мегабайт ОЗУ.
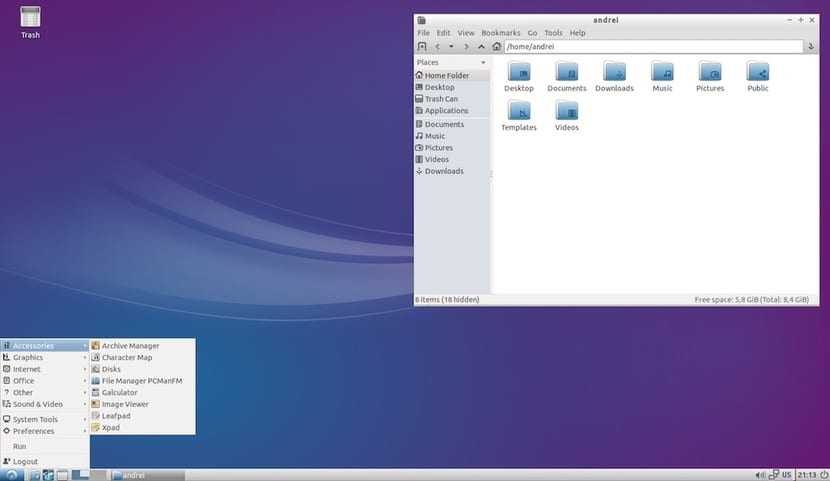
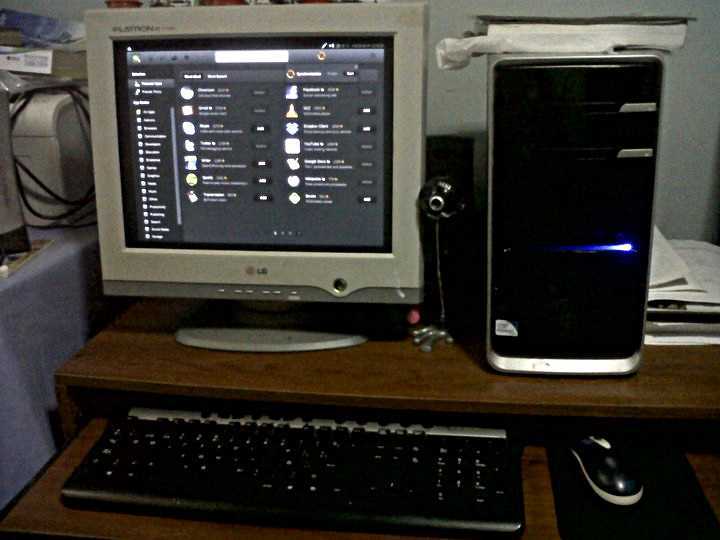
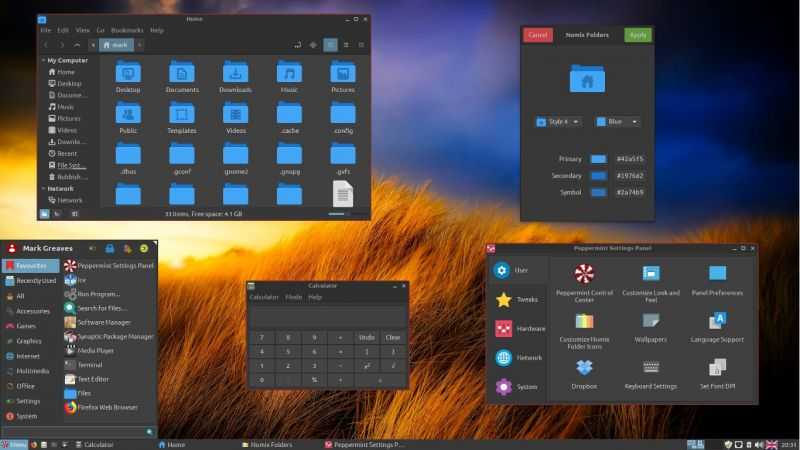
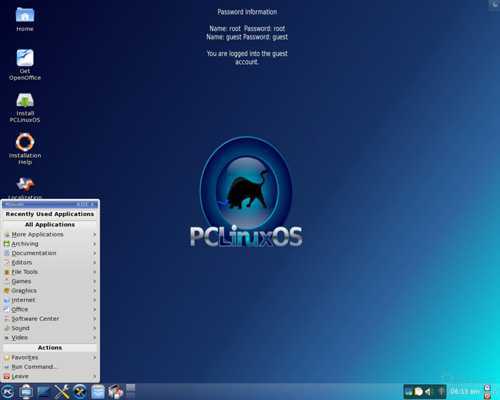
Puppy Linux
Puppy Linux — это очень маленькая ОС Linux с удобным пользовательским интерфейсом. Несмотря на небольшой размер, он имеет легкодоступные инструменты для создания разделов и восстановления файлов, упакованные с этим портативным Linux. Этот дистрибутив подходит для базовых вычислений и просмотра веб-страниц.
Puppy Linux может сохранять данные сессии в отдельных файлах. Этот дистрибутив включает в себя собственный менеджер пакетов, который упрощает установку дополнительных приложений. Инструменты конфигурации позволяют пользователю настроить параметры системы. После всех настроек и установок дополнительных приложений пользователю предлагается по настоящему качественный продукт.
Подробный обзор Puppy Linux в написан в этой статье
Инструкция по установке Puppy Linux описана в этой статье
Выводы
Портативная операционная система — это система, которая совместима с несколькими аппаратными платформами, а также легко переносится на физический диск. Большинство портативных ОС легки и имеют компакт-диск или USB-накопитель. Запуск ОС с CD / USB-накопителя называется live CD / USB. Несмотря на то, что портативные ОС легки, производительность нельзя недооценивать, и большинство из них с открытым исходным кодом при активной поддержке сообщества. Нет ничего плохого в том, чтобы держать одну OS как часть вашей первой помощи.


Мы перечислим лучшие портативные дистрибутивы ОС Linux, которые могут нести USB-накопитель и загружаться на любом настольном компьютере или ноутбуке.


